The secret to a magazine-quality Toronto skyline photo isn’t a hidden location; it’s mastering the art of subtraction and intentionality.
- Technical precision in correcting geometric distortion is more critical than the lens you use.
- The narrative of your shot—whether it’s about economic power or local culture—dictates your choice of location and light.
Recommendation: Stop chasing the same postcard view and start making conscious decisions about geometry, light, and story to create a truly unique and powerful image.
Every amateur photographer in Toronto has faced the same frustration. You stand at Polson Pier, the city glittering before you, and capture an image that feels… flat. The buildings might look like they’re falling backward, the colors are muddy, and the final shot lacks the electric energy you felt in person. The common advice is to get a tripod, shoot in RAW, and maybe try a long exposure. While these are foundational steps, they are merely the entry ticket, not the path to a truly professional, magazine-quality photograph.
The pursuit of a great urban landscape often gets bogged down in a gear-focused or location-hunting mindset. But what if the key wasn’t about finding a better spot or buying a new lens? What if the difference between a passable snapshot and a breathtaking cityscape lies in a more deliberate, almost surgical approach? The real craft begins when you move beyond simply documenting the view and start actively shaping it.
This guide abandons the generic tips. Instead, it dives into the professional decision-making process. We will explore the technical discipline of achieving geometric integrity in your architectural shots, the strategic thinking behind gaining access to unique vantage points, and the artistic choices that ensure your photo tells a compelling story. We’ll treat the Toronto skyline not as a static subject, but as a dynamic canvas that you can control through a deep understanding of light, composition, and narrative.
This article provides a structured path to elevating your work, moving from technical execution to creative storytelling. The following sections break down the specific challenges and professional solutions for capturing Toronto’s iconic skyline.
Summary: Capturing Toronto’s Iconic Skyline with Professional Finesse
- Why Your Skyscraper Photos Look Distorted and How to Fix It in Post?
- How to Access High Vantage Points Without Trespassing on Condo Property?
- Polson Pier or Riverdale Park: Which Spot Offers the Best Skyline Composition?
- The Polarizer Mistake That Ruins Your Shots Through Observation Deck Windows
- When to Shoot the Financial District to Ensure Office Lights Are Still On?
- Polson Pier Sunset or Graffiti Alley Portraits: Which Photo Tells a Better Story?
- Why the View from Riverdale Park Is Superior at Sunset?
- Beyond Selfies: How to Create Meaningful Memories in Toronto That Last?
Why Your Skyscraper Photos Look Distorted and How to Fix It in Post?
One of the most common tells of an amateur cityscape is perspective distortion, or converging verticals, where tall buildings appear to be falling away from the viewer. This happens when you tilt your camera upwards to fit a skyscraper into the frame. While sometimes used for dramatic effect, achieving a clean, professional look demands geometric integrity. The goal is to make vertical lines truly vertical, reflecting the architect’s original design and conveying a sense of stability and power. True mastery isn’t about avoiding the distortion in-camera—which is often impossible from ground level—but about correcting it with precision in post-production.
Software like Adobe Lightroom is indispensable for this. The “Upright” tool in the “Transform” panel is your primary weapon. While the “Auto” setting can provide a quick fix, professionals prefer the “Guided” mode. This allows you to draw lines along features you know are perfectly vertical or horizontal in reality, such as the edges of Scotia Plaza or the corners of the TD Centre towers. The software then warps the image to align with these guides. For complex compositions involving both the CN Tower and Rogers Centre, shooting a vertical panorama with at least 30% overlap between frames can help preserve natural proportions before you even begin correcting the geometry.
Your 5-Point Audit for a Magazine-Ready Skyline Shot
- Compositional Anchors: List all key elements in your frame (e.g., CN Tower, Scotia Plaza, waterfront reflections). Are they balanced or competing for attention?
- Technical Inventory: Review your shot’s EXIF data (aperture, shutter speed, ISO) and histogram. Are your highlights blown out or your shadows crushed?
- Narrative Cohesion: Does the light (e.g., cool blue hour vs. warm sunset) and composition support the story you want to tell (e.g., bustling city vs. serene skyline)?
- Emotional Impact: Is the image technically perfect but sterile, or does it evoke a specific mood like awe, energy, or peace? Identify the ‘wow’ factor or lack thereof.
- Refinement Plan: List 3 specific post-processing adjustments to elevate the shot (e.g., “fix convergence on First Canadian Place,” “enhance mid-tone contrast,” “dodge the waterfront”).
A professional workflow involves applying lens profile corrections first to remove any inherent barrel or pincushion distortion from your specific lens. Only then should you proceed with manual or guided perspective adjustments. For fine-tuning, the “Aspect” slider in the Transform panel is a subtle but powerful tool. It lets you adjust the width of buildings without affecting their height, counteracting any unnatural stretching that can occur during correction. This careful, multi-step process is what separates a quick fix from a polished, architecturally sound image.
Ultimately, this level of control transforms your role from a passive observer to an active shaper of the city’s form.
How to Access High Vantage Points Without Trespassing on Condo Property?
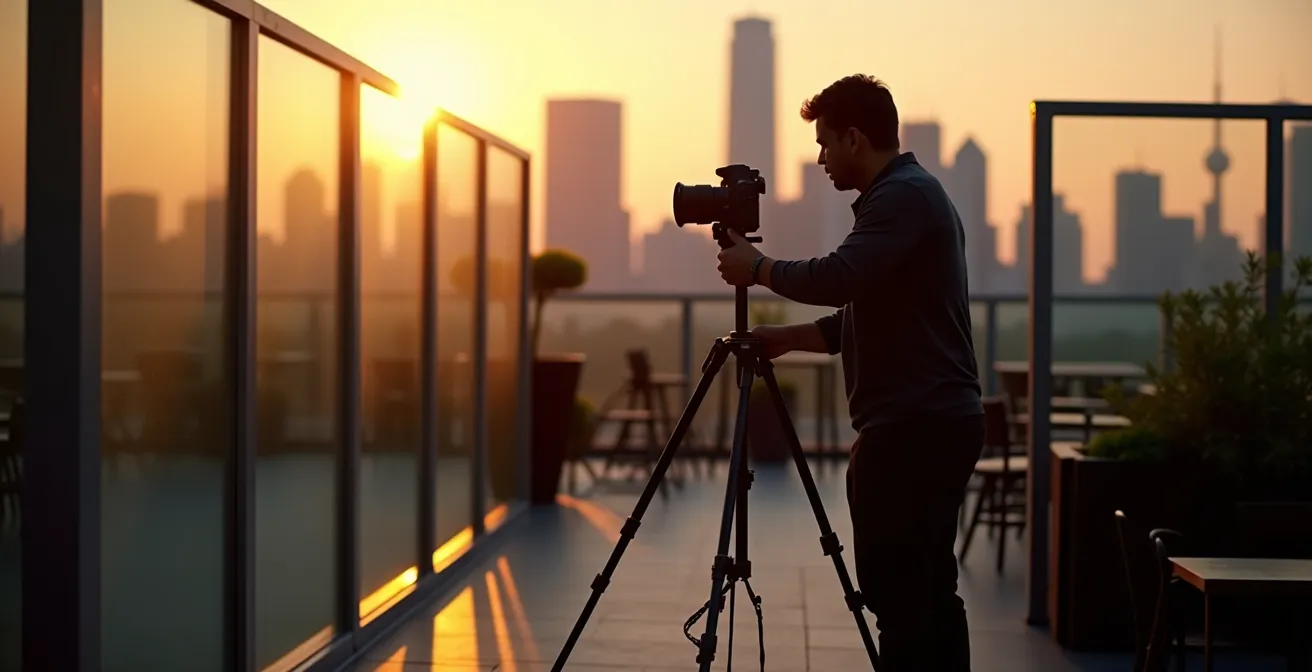
The quest for a unique skyline photo inevitably leads to one question: how to get up high? While the city’s many residential condos offer tantalizing views, unauthorized access is unprofessional and risky. The professional approach to “calculated access” involves resourcefulness and networking, not trespassing. The most direct and ethical method is to rent a space with a view. Platforms dedicated to booking locations for creative projects are invaluable tools for this.
In Toronto, for instance, you can use Peerspace to rent private terraces with skyline views, with average rates around $152 per hour in the downtown core. This guarantees legal access, privacy, and often, a unique perspective that hasn’t been over-photographed. Many listings are specifically for production, boasting features like “exclusive access to a 3000sq/ft rooftop with absolutely STUNNING city skyline views.” This is a business expense that pays for itself in exclusivity and peace of mind.
Beyond rentals, professional networking is key. Engaging with local photographers in dedicated Toronto photography Facebook groups can lead to shared access opportunities from members who live in high-rise buildings. Another strategy is to draft a formal collaboration proposal. Offer a building’s management a set of 3-5 high-resolution, framed prints of their own skyline view for their lobby in exchange for one or two sessions of supervised rooftop access. This professional exchange provides value to the property owner and grants you a coveted vantage point. Finally, strategically visiting open houses in new developments, particularly in South Core and East Bayfront, can provide temporary but legal access to stunning, fresh perspectives of the city.
This proactive approach separates the professional from the hobbyist who simply hopes for an open door.
Polson Pier or Riverdale Park: Which Spot Offers the Best Skyline Composition?
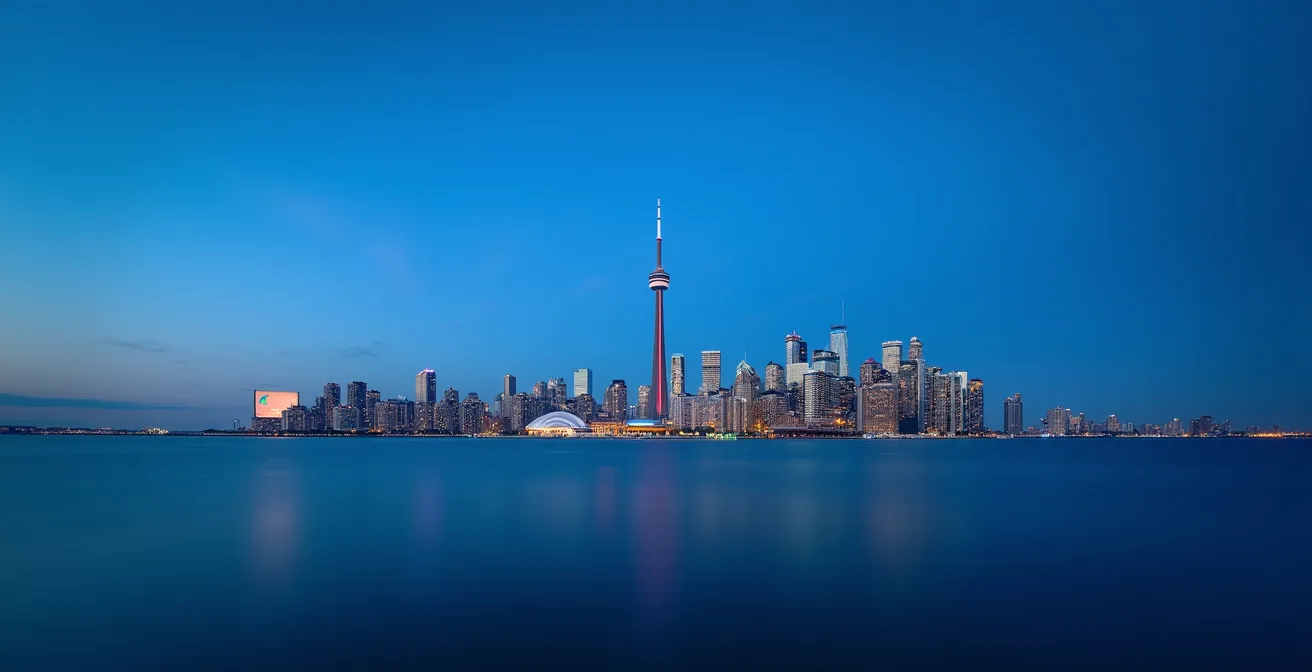
The choice of location is the first and most critical narrative decision you make. In Toronto, the debate often boils down to two titans: the classic waterfront view from Polson Pier versus the layered, elevated perspective from Riverdale Park. Neither is objectively “better”; they simply tell different stories. Your job as a photographer is to choose the location that best aligns with the story you want to create. Polson Pier delivers the quintessential “postcard” shot—an unobstructed, symmetrical view across the water that speaks of scale and grandeur. It excels at capturing water reflections and is perfectly aligned for Canada Day fireworks. It’s a statement of Toronto’s iconic profile.
Riverdale Park, on the other hand, offers a more complex and nuanced narrative. Its strength lies in layered depth. From the park’s hill, you can compose an image with multiple planes: the foreground park life, the Don Valley with its vibrant foliage in autumn, the light trails from the Don Valley Parkway, and finally, the skyline itself. This perspective contextualizes the downtown core within the broader city, telling a story about community and the integration of urban and natural spaces. The challenge of blue hour photography is its fleeting nature; you often only have 20 to 30 minutes of perfect light before darkness fully takes over. This makes your initial location choice even more critical, as you won’t have time to relocate.
| Criteria | Polson Pier | Riverdale Park |
|---|---|---|
| Best for Classic Postcard | ★★★★★ Unobstructed waterfront view | ★★★ Eastern perspective with foreground |
| Water Reflections | ★★★★★ Direct lakefront access | ✗ No water in frame |
| Layered Depth | ★★ Limited foreground options | ★★★★★ Park hill, Don Valley, skyline layers |
| Light Trails Potential | ★★★ Billy Bishop Airport ferry | ★★★★★ Don Valley Parkway trails |
| Canada Day Fireworks | ★★★★★ Perfect alignment | ★★ Distant view |
| Autumn Colors | ✗ Industrial setting | ★★★★★ Don Valley foliage |
Ultimately, the decision rests on your photographic intent. For a clean, powerful, and commercially-oriented image that emphasizes the skyline’s impressive form, Polson Pier is unmatched. For a richer, more contextual photograph that tells a story about life in the city and offers greater compositional complexity, Riverdale Park provides a more compelling canvas.
Choosing consciously between these two options is a fundamental step in developing your artistic voice.
The Polarizer Mistake That Ruins Your Shots Through Observation Deck Windows
Shooting from an observation deck like the CN Tower presents a unique challenge: glass. The amateur’s first instinct is often to screw on a circular polarizing filter (CPL) to cut reflections. This is a critical mistake. The safety glass used in high-rise buildings is tempered for strength, a process that creates internal stresses. When viewed through a polarizer, these stress patterns manifest as an ugly, blotchy rainbow effect known as birefringence. This will ruin your shot, and it cannot be easily fixed in post-production. The professional solution is not to filter the light, but to block reflections at the source.
The most effective tool is a flexible silicone lens hood. These hoods are designed to press flat against the window, forming a light-proof seal around your lens. This physically blocks any reflections from the interior lights or from your own clothing from entering the lens. If you don’t have one, a dark jacket or cloth draped over your camera and pressed against the glass can achieve a similar effect. It’s also crucial to wear all black clothing to minimize your own reflection. Before you even set up, clean your chosen section of the window with a dedicated microfiber cloth to remove smudges and fingerprints that can soften your image.
Another challenge is stability. Tripod policies at venues like the CN Tower can change seasonally, so it’s wise to call ahead. To be safe, pack a more versatile support system like a Platypod or a Gorillapod, which can be stabilized with a small beanbag and placed directly on the window ledge. When shooting, ensure your lens is perfectly perpendicular to the glass. Angling it even slightly will increase internal reflections and reduce sharpness. As an advanced technique, bracketing exposures is a way to mitigate lens flares caused by powerful artificial lights hitting your lens through the window.
By focusing on blocking reflections rather than filtering them, you can achieve crystal-clear results from even the most challenging indoor vantage points.
When to Shoot the Financial District to Ensure Office Lights Are Still On?
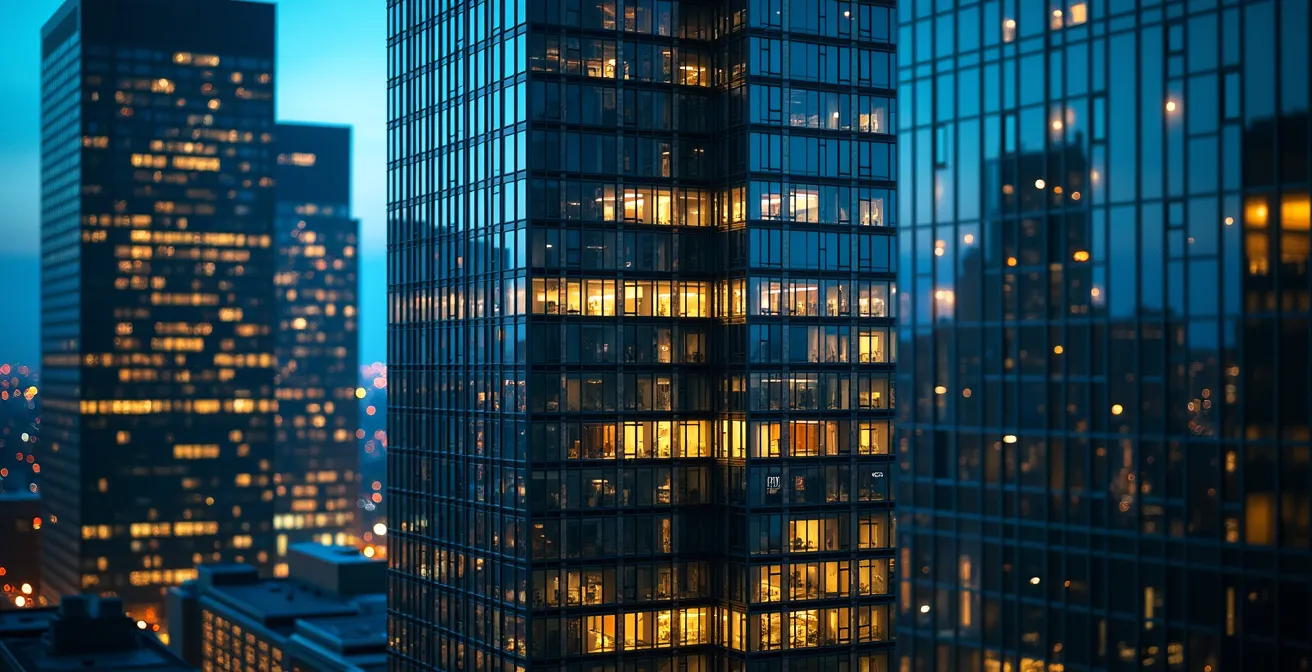
A vibrant cityscape at blue hour is a dance between two light sources: the fading ambient light of the sky and the artificial light from within the buildings. For a truly dynamic shot of Toronto’s Financial District, capturing the grid of illuminated office windows is essential. A dark, powerless-looking skyscraper is a dead element in your composition. This creates a very specific and often frustratingly short window of opportunity. The key is not just to be there during blue hour, but to be there at the precise moment when the balance of light is perfect.
The magic moment happens on weekday evenings. As a general rule, the optimal time is in the 15 minutes that begin just after the city lights switch on. This is when the sky still holds a deep, textured blue, but it’s dark enough for the interior office lights to pop, creating a stunning contrast of warm and cool tones. Wait too long, and the sky goes black, losing all detail and creating a harsh, high-contrast scene. Shoot too early, and the office lights will be washed out by the remaining daylight. This 15-minute window is when the “light-story sync” is at its peak, telling a tale of a city that is still alive and humming with energy after sunset.
But what if you miss the window, or some buildings remain stubbornly dark? Professionals use a technique called “light stacking.” This involves setting up a camera on a tripod and locking down the composition before blue hour even begins. You then capture a series of identical frames, one every couple of minutes, over a 30-40 minute period. Later, in Photoshop, you load all these images as separate layers. By changing the blend mode of all layers (except the bottom one) to “Lighten,” Photoshop will take only the brightest pixels from each layer. This means if an office light was on in just one of your 20 frames, it will appear in the final composite image. This technique allows you to create a “hyper-real” version of the city, fully and brilliantly illuminated.
Mastering this timing, or using advanced techniques to overcome it, is a hallmark of professional cityscape photography.
Polson Pier Sunset or Graffiti Alley Portraits: Which Photo Tells a Better Story?
A photograph’s power is measured by the story it tells. In Toronto, you can tell two fundamentally different stories: the macro-narrative of the city as a whole, or the micro-narrative of its constituent parts. A Polson Pier sunset shot tells a macro-story of economic power, development, and metropolitan scale. The gleaming towers reflected in the water create an aspirational, corporate-friendly image that appeals to real estate investors and clients who want to project an image of success and ambition. It’s a story about the city as a concept.
In contrast, a portrait session in Graffiti Alley (Rush Lane) tells a micro-story. This is a narrative of street culture, artistic expression, and vibrant neighborhood character. Instead of a distant, impersonal skyline, the background is a constantly evolving canvas of murals. The human element is front and center, telling a story of individuality and creative rebellion. This type of image resonates with lifestyle brands, travel blogs, and audiences interested in the authentic, lived-in texture of the city. There’s no right or wrong choice; it’s a matter of aligning your visual narrative with your intended audience and message.
| Story Element | Polson Pier Sunset | Graffiti Alley (Rush Lane) |
|---|---|---|
| Target Audience | Real estate investors, corporate clients | Lifestyle brands, travel blogs |
| Visual Narrative | Economic power, development, city scale | Street culture, artistic expression, neighborhood character |
| Historical Context | Industrial Port Lands, Villiers Island redevelopment | Rick Mercer Report legacy, evolving street art scene |
| Human Element | Aspiration, observation of urban scale | Individual expression, creative rebellion |
| Best Season | Summer for clear skyline views | Year-round with changing murals |
The most advanced photographers often seek to fuse these two narratives. One might shoot a wide shot from the Toronto Islands, capturing the classic skyline, but place a subject in the foreground on the beach, creating a connection between the human and the monumental. Another might use a telephoto lens from a distance to capture a tight shot of a single person on their condo balcony, with the sprawling city behind them, blending the personal and the public. The key is to consciously decide what story you are telling. Are you documenting the impressive steel-and-glass forest, or are you capturing the human life that grows within it?
A great photographer is not just a technician, but a narrator choosing the most effective tale to tell.
Why the View from Riverdale Park Is Superior at Sunset?
While Polson Pier owns the classic blue hour shot, Riverdale Park is arguably the superior location for capturing the skyline at sunset. The reason lies in two key elements: the direction of light and the park’s unique ability to create compositional depth. As the sun sets in the west, it positions itself directly behind the downtown core when viewed from Riverdale Park in the east. This backlighting creates the potential for dramatic, silhouetted skylines and spectacular sky color. More importantly, in the moments just after the sun dips below the horizon, it produces a phenomenon that photographers cherish: a soft, even illumination across the western-facing facades of the buildings—a kind of urban alpenglow.
This post-sunset glow provides beautiful, soft light on the buildings, a stark contrast to the harsh, direct sunlight you would be shooting into from a western vantage point like Humber Bay. But the real magic of Riverdale Park is its topography. The location offers at least four distinct compositional layers to work with. A skilled photographer can create a frame that includes the grassy hill in the immediate foreground, the running track and baseball diamond below, the dense trees of the Don Valley, and finally, the skyline itself. Including silhouettes of people on the hill provides a crucial sense of scale, making the distant towers feel even more immense.
To maximize this layering effect, a professional will use a telephoto lens and the principle of lens compression. By positioning yourself further back in the park and using a longer focal length (typically in the 135-200mm range), you can make the distant skyline appear larger and more compressed against the foreground and mid-ground layers. An aperture of f/8 to f/11 is ideal for ensuring sharpness across all these layers. This technique transforms a simple view into a rich, complex composition that feels both grand and intimate. It’s a far more sophisticated image than a simple wide-angle shot from the edge of the hill.
It’s a location that rewards thoughtful composition and a deep understanding of light.
Key Takeaways
- Magazine-quality shots depend on technical control over geometry and light, not just finding a good location.
- The best vantage points are often secured through professional outreach and resourcefulness, not by chance.
- Your choice of location (e.g., Polson Pier vs. Riverdale Park) is a narrative decision that must align with the story you want to tell.
Beyond Selfies: How to Create Meaningful Memories in Toronto That Last?
In an age of fleeting digital content, creating a truly lasting and meaningful photograph of a city like Toronto requires moving beyond the iconic and embracing the personal. A “keeper” shot, the one that ends up framed on a wall rather than lost in a camera roll, possesses a narrative depth that a simple selfie or postcard view lacks. It captures not just what the city looks like, but what it *feels* like. This is achieved by shifting your focus from the macro to the micro, or by embarking on a long-term project that documents change over time.
One of the most powerful ways to create meaningful work is to undertake a neighbourhood photo essay. Instead of trying to capture all of Toronto in one shot, choose one distinct area—like the historic Distillery District, the upscale Yorkville, or the eclectic Junction—and immerse yourself in it. Document the unique architectural details, the local vendors in their shops, and the relationship the neighbourhood has with the distant skyline. As experts from Masterclass note, when cityscape photographers seek the essence of a city from its inhabitants’ perspective, they often include these bursts of nature and local life. This approach builds a collection of images that tell a rich, specific story that is uniquely yours.
Another path to meaningful work is the long-term project. Toronto’s waterfront is in a constant state of evolution. Committing to photographing it from the same vantage point once every season for several years can create a powerful series that documents the city’s growth and change. This kind of project transcends a single moment, telling a story about time, progress, and memory. The power of blue hour here is that the deep blue sky adds more interest than plain black, which is especially important in cityscapes where light pollution can wash out a night sky. It’s this dedication to a concept, beyond just a single image, that elevates photography from a hobby to an art form.
Start today by choosing a single Toronto neighbourhood and begin building a photo essay that tells its unique story, applying the technical and artistic principles you’ve learned.